Saturday, October 25, 2014

How we enjoy Halloween (and other holidays)...the all natural way!

I have had several friends ask how we deal with candy issues at Halloween (and other holidays), when we don't consume artificial colors, artificial flavors, or artificial sweeteners. It really isn't as difficult as one may think. It is all in the art of imagination and replacement, and creating fun traditions.

Our schools in Texas have three party days that are announced each year. For these parties, I usually try to make my child's favorite treat. This almost always ensures that they will pick their homemade goody over the other parent's treats. I also provide the juice/drink of their choosing. During those parties, our kids get to consume anything and everything like the other kids. BUT, only during the party. I have found this method to be the most effective way to keep my children from feeling deprived and different (you know, the bad different) from their peers. Do they consume some chemical laden junk? Yes. But, we deal with it.

How do we deal? As soon as they get home, the bags and buckets from parties are dropped on the kitchen table. On Halloween, we usually are right back out the door to go trick-or-treat, or catch a fall festival in our area. When we are finally in for the night, all of the candy and treats are left on the table. My kids get to take a "magic crystal" bath (just equal parts baking soda and epsom salt, with a little lavender oil), to help detoxify their little bodies. Then, they get into pajamas for a fun fall movie before bed. Keep in mind that the candy and treats are still on the table....

Before bed, my children take a brief inventory of all of their things, and we tell the story of the Switch Witch. The switch witch is a naughty and wild witch. She loves candy! The more candy you leave out for her at night, the better she will reward you. She usually leaves each child a small bag of non-chemical candies, and a pretty awesome gift or toy. Her gift is not usually more than $20 in value (She is no comparison to Santa!). The switch witch doesn't ever take small toys, stickers, and other non-edibles. She doesn't want them, just the candy and treats. Then, she leaves the home, taking all of the treats with her, so she can continue on her naughty and wild night!  Here is the bag of candy that our Switch Witch has already prepared for my children this year:


Now, the real magic is truly taking it all out of my home. If I leave it anywhere, the three amigos will locate it, thus ruining the magic of the Switch Witch. The bad candy can always be donated to a local hospital waiting room, a CPS office, your husband's job, etc. There are lots of people willing to take this stuff off of your hands.

The next morning, the small bag of candy and unwrapped gift are on the kitchen table with the original bags/buckets that they got at their parties. My kids have never once questioned about why they can't have it, because this tradition is not about restriction as much as it is about replacement and rewarding good choices. They are always ecstatic to find their gift, and most of the time ignore the "good" candy until later in the day and/or week. In fact, my eldest daughter has been collecting candy for the switch witch for two weeks. The buy-in for them was almost too easy! I hope it works the same for your children.

Now, here are some of our favorite candy choices. And, no, we do not keep this amount of candy around all of the time! I have listed where I purchased in parenthesis.
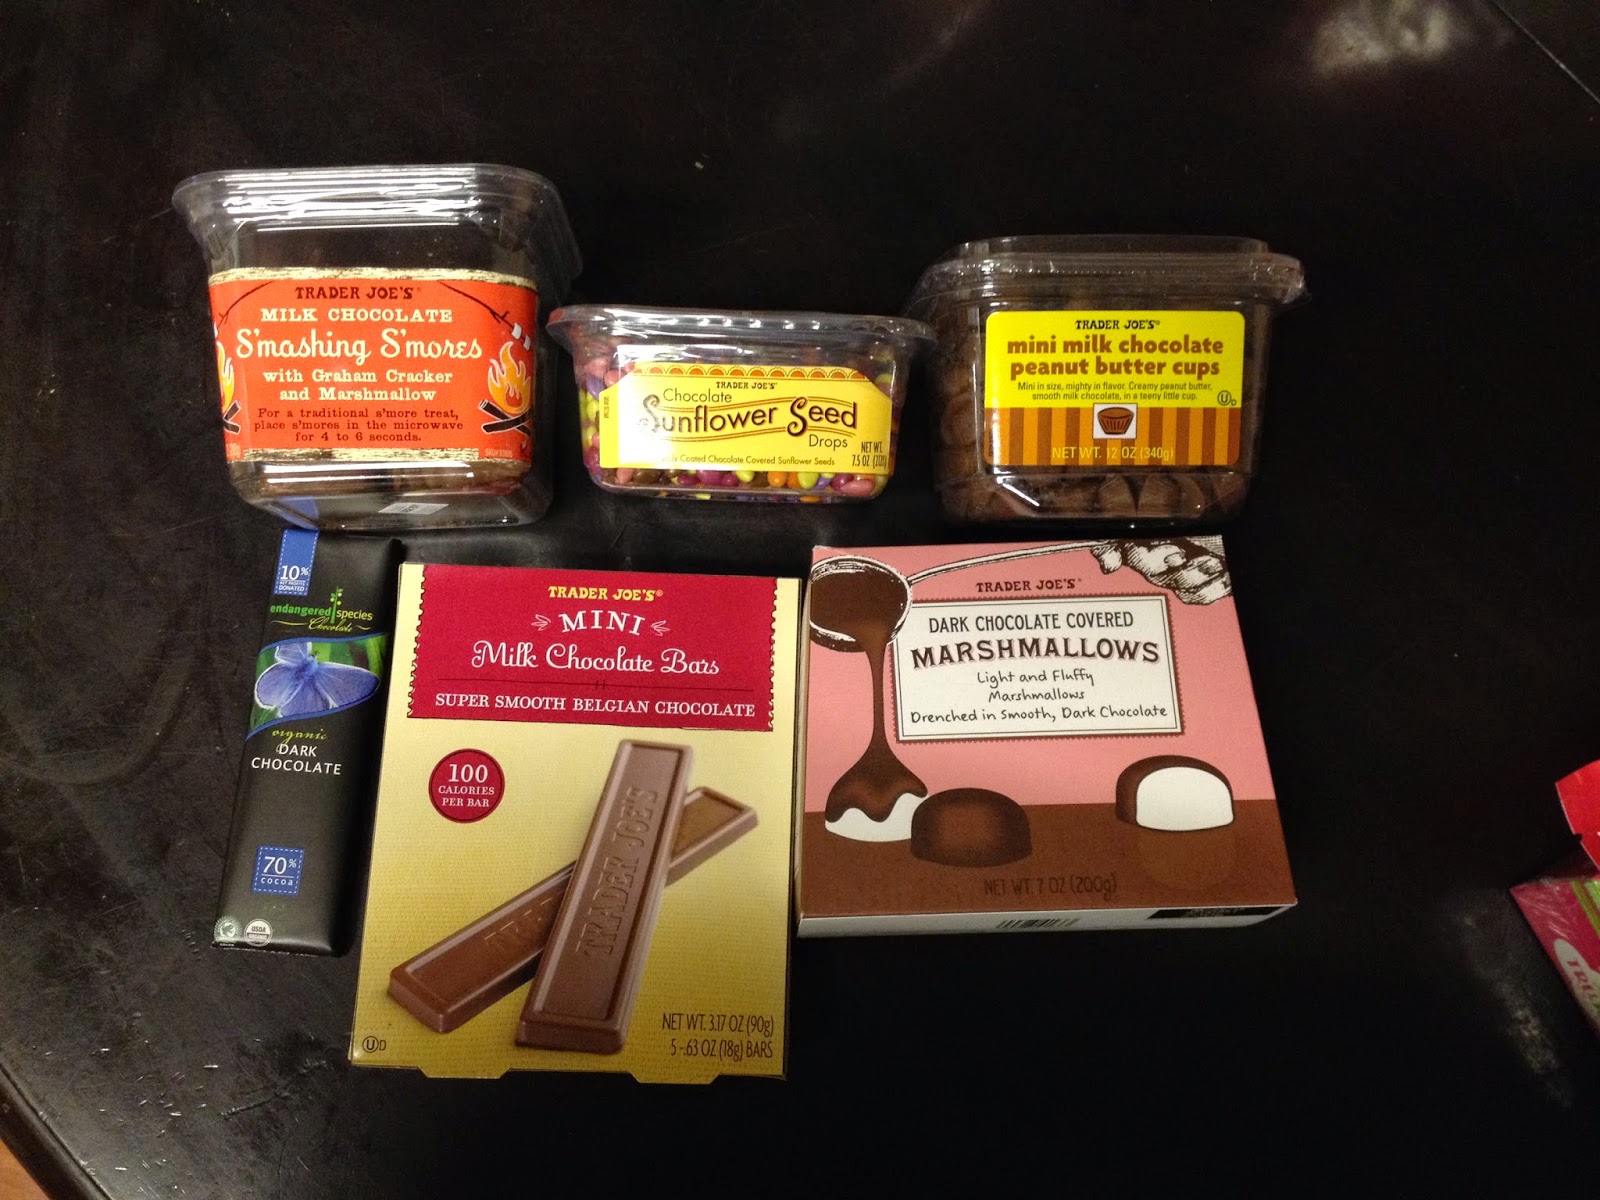

Chocolates:

Trader Joe's Smashing Smores (Trader Joe's), Trader Joe's Chocolate candy coated Sunflower Seeds (Trader Joe's), Trader Joe's mini milk chocolate peanut butter cups (Trader Joe's), Trader Joe's Chocolate Covered Marshmallows (Trader Joe's), Trader Joe's Mini milk chocolate bars (Trader Joe's), and an Endangered Species Dark Chocolate bar (Kroger).


Hard Candies and Suckers:

Yummy Earth Organic Pops (Whole Foods), Glee Gum Pops (Whole Foods), TruSweet Candy Canes (Amazon), Trader Joe's Peppermints (Trader Joe's), and Torie and Howard Organic Hard Candy (Whole Foods).


Gummy Candies:

Yummy Earth Fruit Snacks (Costco or Whole Foods), Yummy Earth Gummy Bears (Whole Foods), and Surf Sweets Bears (Whole Foods).


Trader Joe's Candy Coated Licorice (Trader Joe's), Tree Hugger Bubble Gum (www.TreeHuggerGum.com or Whole Foods), and Sweet's Candy Corn (www.sweetcandy.com or Whole Foods).

Some of my favorite places to find All Natural Candy online:

www.amazon.com
www.squirrels-nest.com
www.naturalcandystore.com

Trader Joe's has an amazing selection of all-natural candies. You just have to make sure to buy a Trader Joe's brand. Also, Whole Foods has a decent selection, but you will get the best prices by buying around holidays in the holiday packaging. Hint: Surf Sweets and Yummy Earth produce holiday packaging, but the inside packages are always the same (not holiday specific). This makes it awesome for stocking up!


Saturday, October 18, 2014

Fall Rosettes....or dumplings!

I decided to try a new way to "cheat" when baking, and decided to use a couple of cans of immaculate baking croissant dough. Well, I looked through multiple pins on pinterest at various recipes for canned croissants when I ran across a pin for rosettes. Basically, they rolled out croissant dough, sliced in thin strips, then rolled them into pretty little flower shapes. It sounded good, but I am in a dessert mood. I decided to add some diced pears, and voila...Fall Rosettes. It is very similar to a dumpling, but since I shaped it like a rosette, we will go with that! Anyway, Phillip and I experimented with variations on how to cut them and roll them, in fact we did a couple that weren't cut at all. The beauty is, you can get creative, and know that they are going to be amazing!

You will need:
1 cans of refrigerated croissants (We prefer Immaculate Baking Co.)
5 medium pears
1 TBSP organic sugar
1 tsp ground cinnamon

Preheat your oven to 350 degrees, or follow croissant label instructions.


Peel, core, and dice pears.


Add in Cinnamon and Sugar, then stir until well combined.


Unwrap your crescent rolls. Leave two sections connected. Pinch gently along the perforated seem, and then use a rolling pin to expand.


Add a few tablespoons of filling. Then, begin to roll from one corner down.


Once rolled in one direction. Then, roll it into itself, making a flower shape.


Place on a baking sheet, and bake according to crescent roll instructions. We baked ours at 350 degrees for 15 minutes. *Note: We experimented with multiple cuts and folds. Rolling with no cuts was the easiest and less messy.


Remove from oven, and serve hot. Enjoy!


Sunday, October 5, 2014

5 Ingredient Complete Chicken Dinner!

I have seen lots of chicken dinners in a casserole dish. My mom used to make a fail-proof chicken, green bean, and potato bake when she would host "Senior Luncheon" at our church. Her version consisted of a lot of butter and dry Italian dressing packets instead of a bottle of Italian dressing. I won't lie, I loved her version! But, for the sake of not using an entire pound of butter in one dish, I opted for a slimmer version using one of our favorite Italian dressings, which has lower fat and great flavor. As noted in the title, this recipe has 5, that's right FIVE, ingredients. It takes about five minutes to chop the onion and potatoes, and completely assemble the dish. That is a quick fix on any night! Of course, I always encourage you to use good whole ingredients, and organic, grass-fed or free-range when you can!

For this recipe, you will need:

Two pounds of chicken
4 Cups of frozen green beans
6 Medium Gold Potatoes
1 Medium Onion
1 bottle of Italian Dressing

First, chop your potatoes and onions. The cut is your preference.

Place you chicken in the center of a 9x13 baking dish. No greasing or oiling the pan.

On one side of the chicken, add in your four cups of green beans.

Add chopped potatoes to the other side.

Sprinkle chopped onion over entire pan.

Now, add entire bottle of Italian dressing to the pan to cover. Don't worry about mixing and stirring!! 


Finally, place this dish in a 350 degree oven, and cook for approximately one hour, or until chicken is cooked through and potatoes are tender.

Sunday, September 28, 2014

No oil/butter - Pumpkin Muffins

I had a bag of pureed pumpkin, in a one cup portion, in my freezer. Since fall is upon us, I decided I should use the last of the frozen before I prep and freeze more pumpkin puree this year. I looked at various recipes for pumpkin muffins and cupcakes, but couldn't find one that I just loved. The main set-back in the ones I reviewed was that they contained canola oil, which we avoid in our kitchen. I also wanted to try and stay away from butter and other oils for this recipe, for the fun of it.

For this recipe, you will need:
2 Cups of Flour (we use whole wheat)
1 Teaspoon of baking powder
1/4 Teaspoon of baking soda
1 Teaspoon of salt
2 Teaspoons of cinnamon
2/3 Cup Sugar (we use raw sugar)
1 Teaspoon of Molasses
1/2 cup apple sauce
1 cup pumpkin puree
1/3 cup buttermilk (or 1/3 cup milk with 1 tsp. vinegar - let sit for a few minutes before use)
2 eggs


Directions

  1. Preheat an oven to 400 degrees F (200 degrees C). Place muffin cups (my recipe produced 17 muffins, but I used shaped cups) on a baking sheet, or line muffin pans.
  2. Whisk together the flour, baking powder, baking soda, salt, cinnamon, and sugar; set aside. 

3. Combine the applesauce, pumpkin puree, buttermilk, molasses, and eggs and mix until well blended. 


4. Pour the pumpkin mixture into the dry ingredients and blend until combined. *Note - At this point, you can throw in nuts, raisins, diced fruits, shaved carrots, and any other dry (non-absorbent) ingredients you would like. We chose plain for this recipe.

5. Divide the batter evenly in the prepared muffin pan. Bake in the preheated oven until the tops spring back when lightly pressed, 15 to 20 minutes, or until a toothpick inserted in the center comes out clean. 

Cool and enjoy!

Sunday, September 14, 2014

Apple Fall Bakes

We love Fall!! This weekend, we had our first change in weather, which brought us down to the 70's! That may not sound like a great cool-down, but when you are going from upper 90's to low 70's you get excited. When thinking of my favorite things of fall, you know food is somewhere near the top of that list. Fall produce is a must-have and we savor every bit of it, with apples and pumpkin being among our favorites. I began thinking of recipes and thought of a simple one to try. Below, you will find my recipe for Apple Fall Bakes (Apples stuffed with pumpkin and topped with granola). This recipe makes four baked apples. These are a perfect dessert, or a side dish. 

For this recipe, you will need:
1 packet of Maple Brown Sugar Oatmeal
1.25 ounces of almonds, crushed
2 TBSP of Butter
2 cups of pureed pumpkin
1 TSP Cinnamon
2 TBSP Brown sugar or honey
4 Apples


First, preheat your oven to 350 degrees. Then, cut the tops off of each apple, just a thin cut.

Next, using a melon baller, scoop out the inside of the apples out. Leave about 1/4" on all sides. Do not scoop all the way down to the bottom, or your filling will leak out while cooking.

If you cut them too thin, it is ok. Just keep in mind that they will likely split in cooking. 

Combine one packet of oatmeal (we prefer Maple and Brown Sugar) and 1.25 ounces of crushed almonds in a backing sheet. Add in 2 TBSP of melted butter and toss it all together. Place this in the preheated oven for 8 minutes.

Remove the granola topping from the oven.

To two cups of pureed pumpkin, add 1/2 TSP of cinnamon, and 2 TBSP of brown sugar (honey may be used as a substitute). Mix thoroughly.

Fill each hollowed apple with the pumpkin filling, leaving about 1/4 inch on the top.

Once the apples are filled, place them on a baking pan. and top with granola topping.

Sprinkle with cinnamon to your liking.

Bake in the oven for 25 minutes at 350 degrees.

Once they are out, allow them to cool slightly, and serve. They would be great served with homemade whipped topping or ice cream. I hope your family enjoys them as much as ours!
 

Friday, July 11, 2014

Vegetable Lasagna....and my take on eating healthy!

Vegetable Lasagna...and my take on eating healthy!

I have decided to take initiative to healthier and leaner dinners, that are primarily vegetable based. I do not have an aversion to meats, carbohydrates, fats, etc. It has just been a logical conclusion that I have come to. We burn the most calories when we are active, which is daytime. Along my line of thinking, it would be best to eat your largest meal (most caloric dense) in the morning in order to give your body maximum opportunity to utilize the calories and metabolize the food properly. Your lowest caloric intake should be in the evening, when your body is preparing to rest. 

I, personally, am not into depriving myself of food, and don't truly enjoy salads for dinner. I love to eat, preferably savory, home-style dishes, in a decent portion size. This brings me to an easy, quick dish that fits all of my criteria! Vegetable Lasagna. This dish does not have any meat, oils, nor pasta! You can add a large variety of vegetables, cheeses, and seasonings to this blend, or make it as simple as my recipe. The beautiful thing about vegetable lasagna, is that it can be transformed to your liking and tastes. 

To make this dish, you will simply need: 1 medium/large eggplant, 2-3 cups of your favorite pasta sauce, 1 12oz. bag of frozen spinach, thin sliced mozzarella (or favorite cheese), fresh parley, salt, pepper, and garlic powder. 
 I start by trimming a small portion of the outside skin off of the eggplant, and slicing it into 1/4 inch slices. (No need to be exact) Heat a non-stick skillet or griddle to medium-high, and place the eggplant (with no seasoning) onto the skillet. Lightly season the face-up side of the eggplant with salt, pepper, and garlic powder. At this point, I usually add a little bit of water to the pan to create a steam and help the eggplant to not stick. Flip the eggplant, and cook until tender, adding water as needed.
 Once all of the eggplant is cooked, you can start layering your lasagna. I always start with a bit of sauce in a pyrex dish, to keep the cheese and eggplant from sticking to the bottom of the pan.
 Then, place your first layer of eggplant on top of the sauce.
 Add about 1/3 of the frozen spinach.
 Top with thin sliced mozzarella. (I purchase mine from the deli on a #1 slice)
 Snip some fresh parsley over the cheese. Then, continue to layer your lasagna until you have reached the top of the pan.
 I like to top the lasagna off with about 3/4 cup of finely shredded mozzarella; however, the sliced mozzarella will also work nicely.
 Bake the lasagna in a pre-heated, 350 degree oven for 30 minutes.
                           
 Top the cooked lasagna with some fresh parsley and parmesan (optional), and serve.
 Now, that looks like dinner to me! The beauty is that this dish has just under 300 calories for a 1 cup serving, and loads of vitamins and minerals. The eggplant has a meaty texture, which will compensate for any pasta or meat that you would put into a traditional lasagna. Enjoy!